
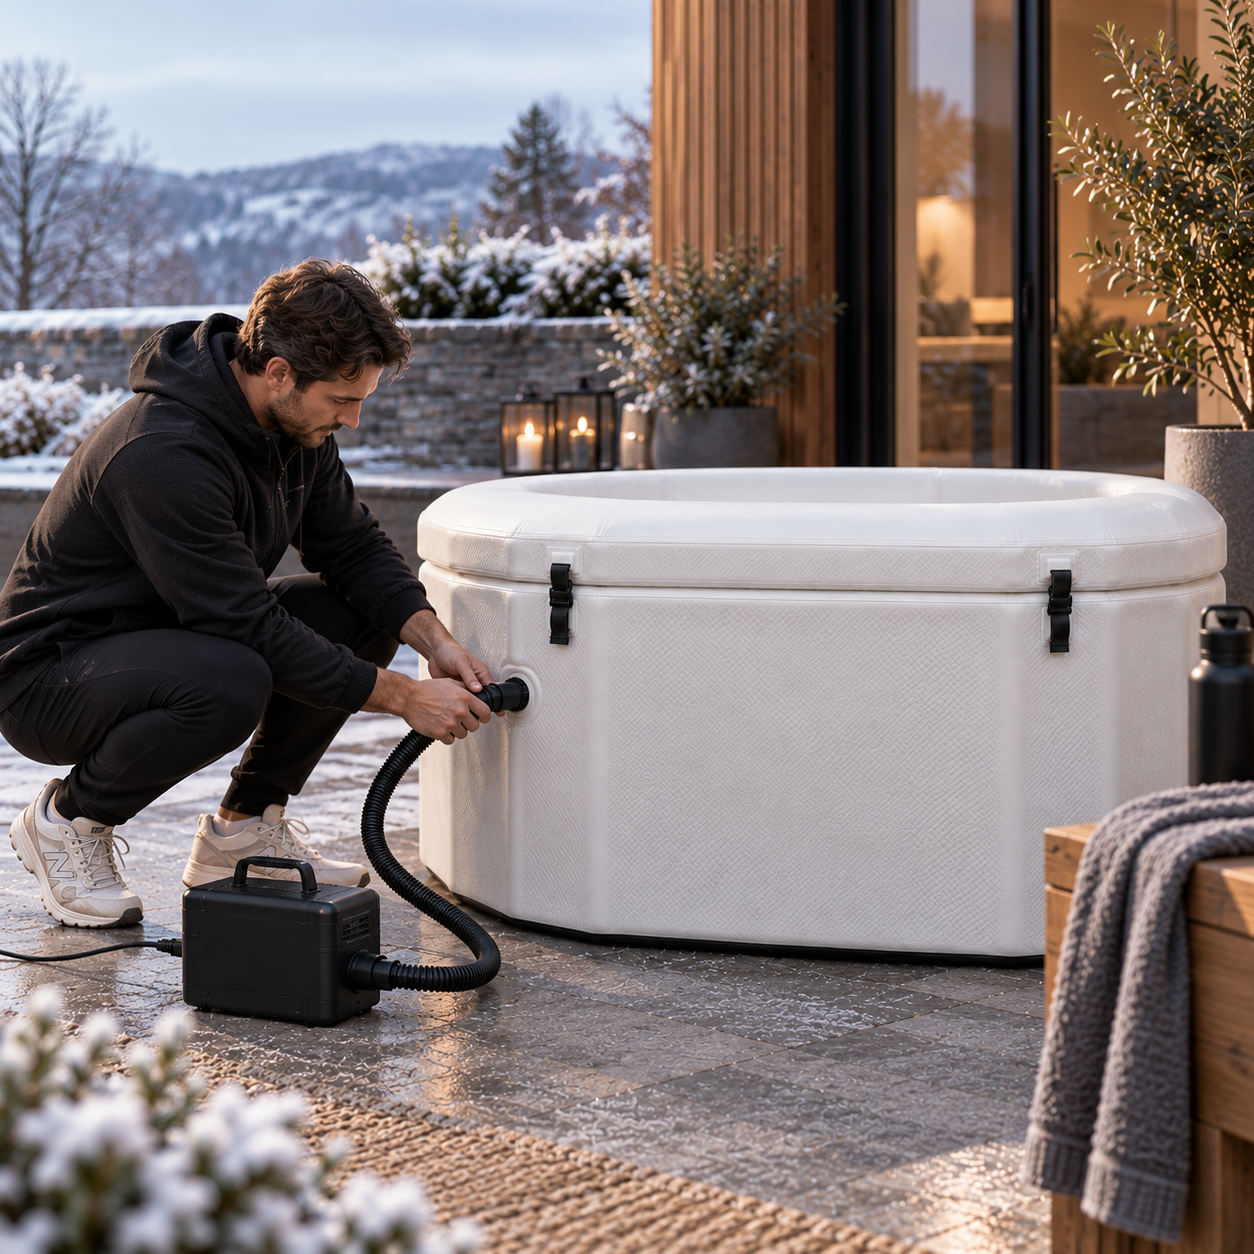
Start With the Type of Setup
Not every cold plunge needs to work in the same way.
An inflatable ice bath offers flexibility and can be stored when required. A timber plunge creates a more permanent feature, while a dedicated chiller can add active cooling to a compatible existing bath.
Start by deciding how permanent you want your setup to be.
Choose the Location Carefully
Check whether your chosen plunge is designed for indoor use, outdoor use or both.
The surface should be stable, level and capable of supporting the plunge when filled. Water adds considerable weight, so this becomes particularly important for raised decking, balconies and some internal floors.
Plan for Filling and Drainage
Think about how you'll fill the plunge and, just as importantly, where the water will go when it's time to empty it.
The practical route for filling, draining and maintaining the plunge should be considered before deciding on its permanent position.
Ice or a Chiller?
A plunge can be prepared manually using ice, while compatible setups can use an external chiller for active water cooling.
A chiller requires additional room alongside the plunge for the equipment, hoses and connections. Individual systems may also incorporate circulation or filtration, so check compatibility before combining equipment.
Leave Room Around the Plunge
Don't plan around the dimensions of the bath alone.
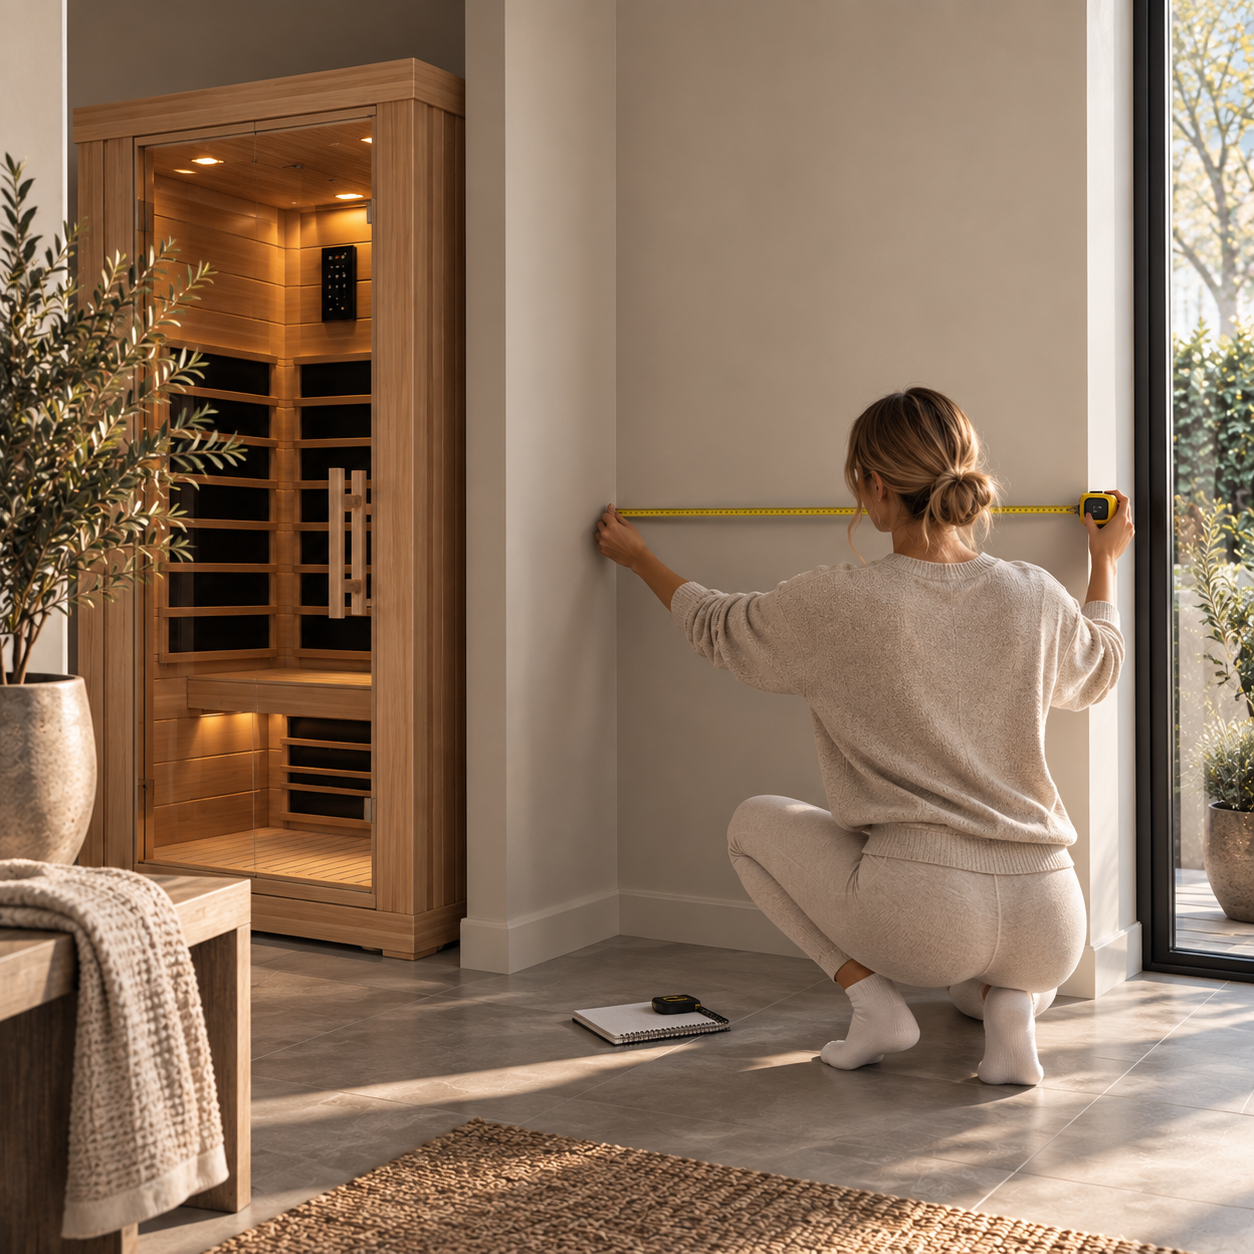
Allow enough surrounding space to enter and exit comfortably, remove covers and access any external equipment used with the setup.
A little extra room can make a significant difference once the plunge is in regular use.
Always follow the specifications and installation guidance supplied with your individual plunge and cooling equipment.

Leave a comment
This site is protected by hCaptcha and the hCaptcha Privacy Policy and Terms of Service apply.